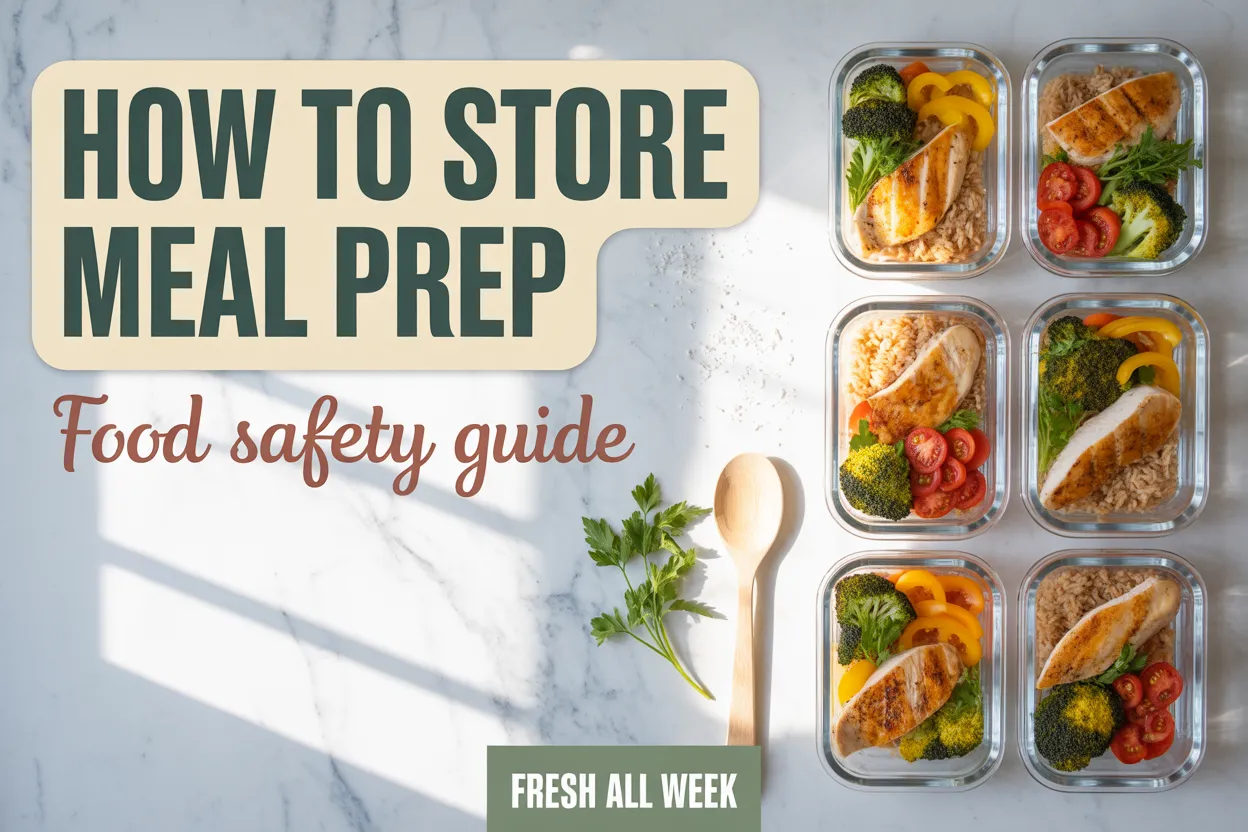
How to Store Meal Prep: Food Safety Guide (That Actually Keeps Meals Fresh)
Okay, confession time. The first year I tried meal prepping, I tossed out more food than I actually ate. Soggy chicken on day three. Rice that smelled weird by Wednesday. A sad salad that turned into a swamp by Tuesday lunch. If any of that sounds familiar, I promise you the issue usually is not your recipes. It is how you are storing everything.
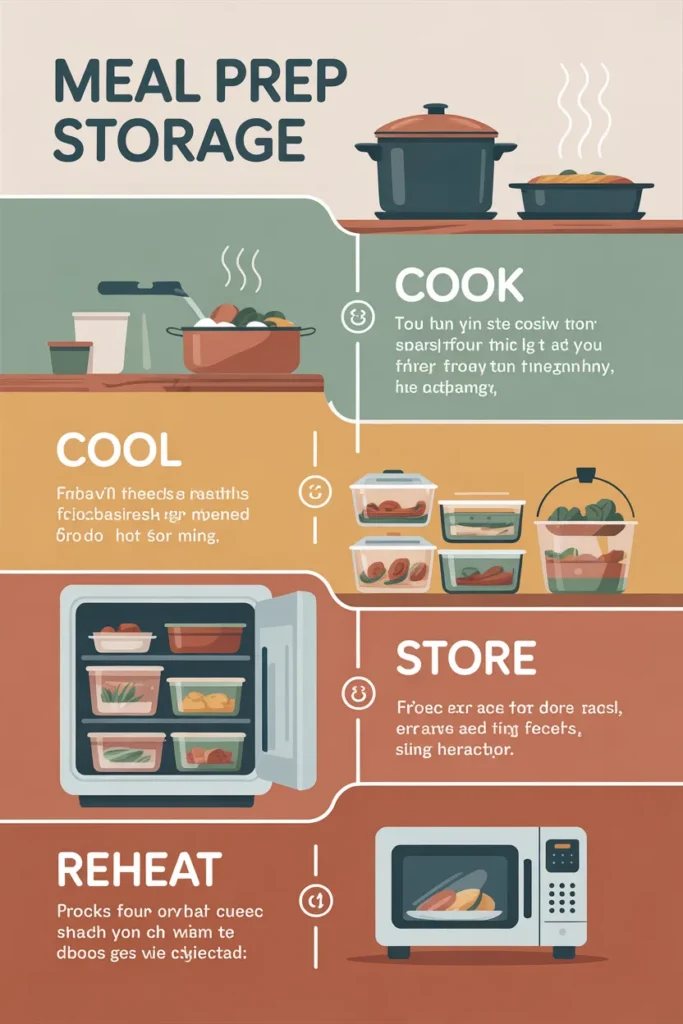
Meal prep storage is honestly the part nobody talks about enough. You can spend three hours on a Sunday chopping, roasting, and portioning like a pro, but if your containers, timing, or fridge setup are off, that work goes straight in the trash by midweek. So this guide walks you through exactly how to store meal prep safely, how long food actually lasts, and the small habits that make the biggest difference.
Why Proper Store Meal Prep Matters More Than You Think
Here is the part most beginners miss. Food safety is not just about avoiding food poisoning, although yes, that is a big deal. It is also about flavor, texture, and whether you actually want to eat your lunch on Thursday. Bacteria grow fastest in what food scientists call the temperature danger zone, which is roughly 40°F to 140°F. Every hour your food sits in that range, your clock starts ticking faster.
According to food safety experts at the Harvard T.H. Chan School of Public Health, labeling, rotating, and cooling meals properly are the foundation of a safe meal prep routine. Miss those steps and even the prettiest glass container will not save you.
The 2 Hour Rule Every Meal Prepper Should Memorize
If you take away one thing from this whole guide, make it this. Cooked food should not sit at room temperature for more than 2 hours before going into the fridge or freezer. If your kitchen is hot, say above 90°F, cut that window down to one hour. This single rule prevents most meal prep food safety problems before they even start.
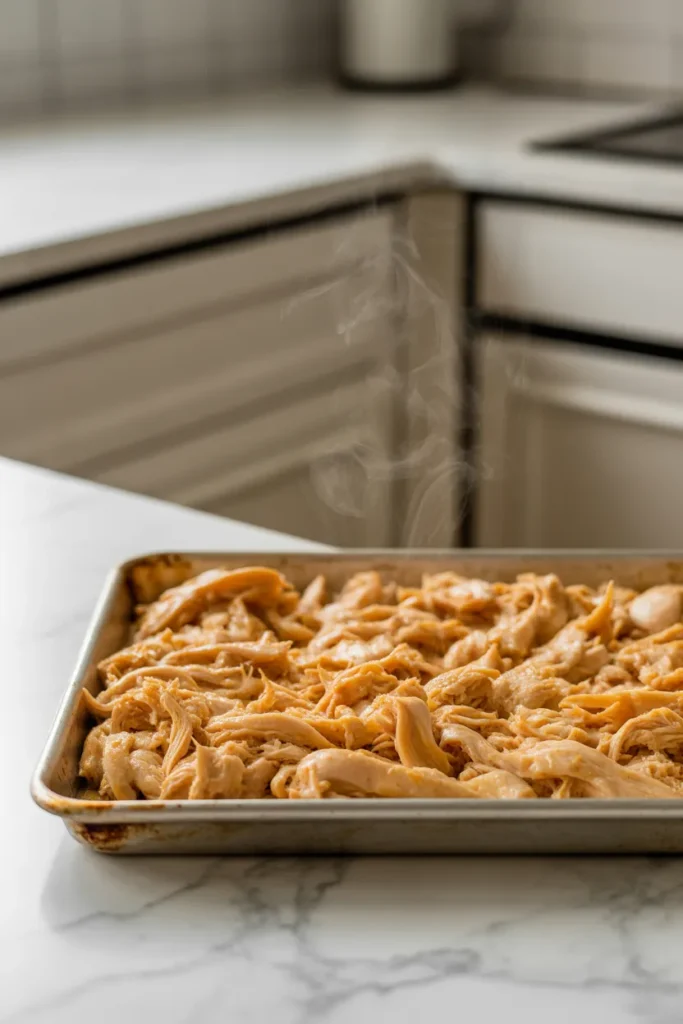
A trick I picked up is to spread hot food out on a sheet pan instead of piling it into a deep container. A big mound of shredded chicken takes forever to cool in the middle, which is exactly where bacteria love to party. Thin it out, let it breathe for about 20 to 30 minutes, then portion it into your storage containers.
How Long Does Meal Prep Actually Last in the Fridge?
This is the question that stresses people out the most, and I get it. Nobody wants to play guessing games with leftovers. Here is the honest breakdown based on USDA and FDA food safety guidelines.
Cooked chicken, beef, pork, and fish last about 3 to 4 days in the fridge at or below 40°F. Cooked rice, quinoa, and pasta usually go 4 to 5 days. Roasted vegetables hold up for 4 to 5 days, though peppers and zucchini get softer fast. Soups and stews are the MVPs of meal prep and typically last 3 to 4 days, sometimes a touch longer if the acid content is higher. Fresh salads with dressing already mixed in are a 1 to 2 day situation. Undressed and they stretch to 3 or 4.
If you want a deeper dive into which recipes hold up best through the whole week, my 7 day meal prep plan on MealPrepBix walks through exactly what to cook and when to eat it.
Should You Freeze Meal Prep Instead?
Sometimes yes, sometimes no, and the difference matters. The freezer is your best friend when you are cooking in bulk or batch prepping for more than 5 days out. Most cooked meals freeze beautifully for 2 to 3 months without losing safety, though texture can shift a bit with certain ingredients.
Things that freeze like champions include soups, stews, chili, cooked grains, shredded meats, casseroles, and sauces. Things that do not freeze well include raw leafy greens, cucumbers, watermelon, tomatoes sliced fresh, mayo based dressings, and anything creamy with dairy, which tends to separate.
One tip that changed my life is freezing in portions, not in one giant block. If you freeze four servings of chili in a single container, you are stuck thawing all of it to eat one bowl. Freeze in single or double servings and future you will send a thank you card.
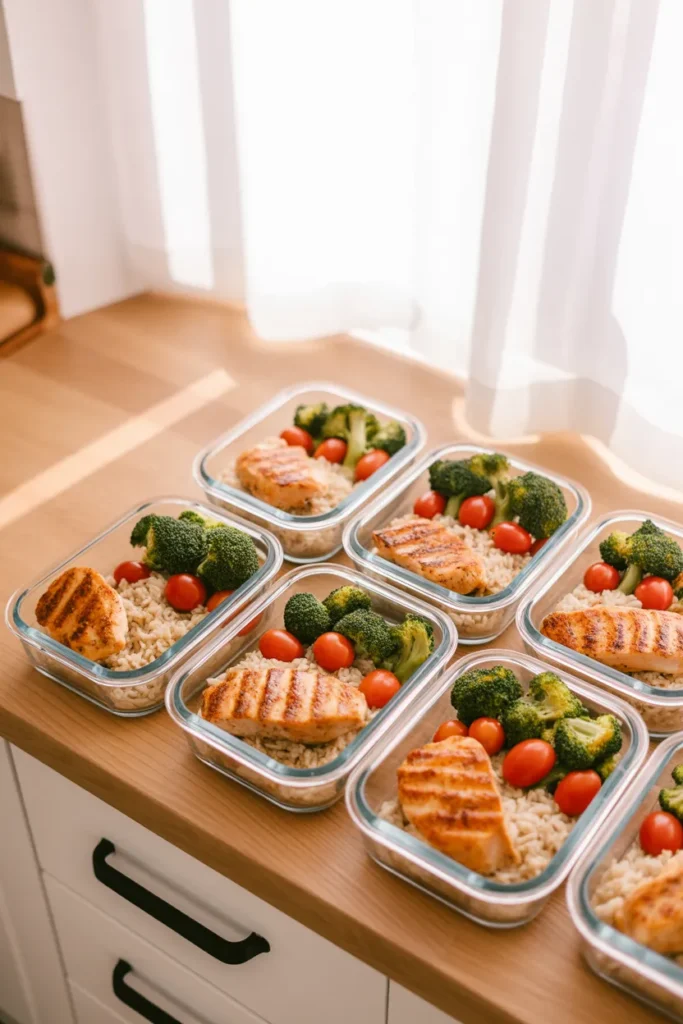
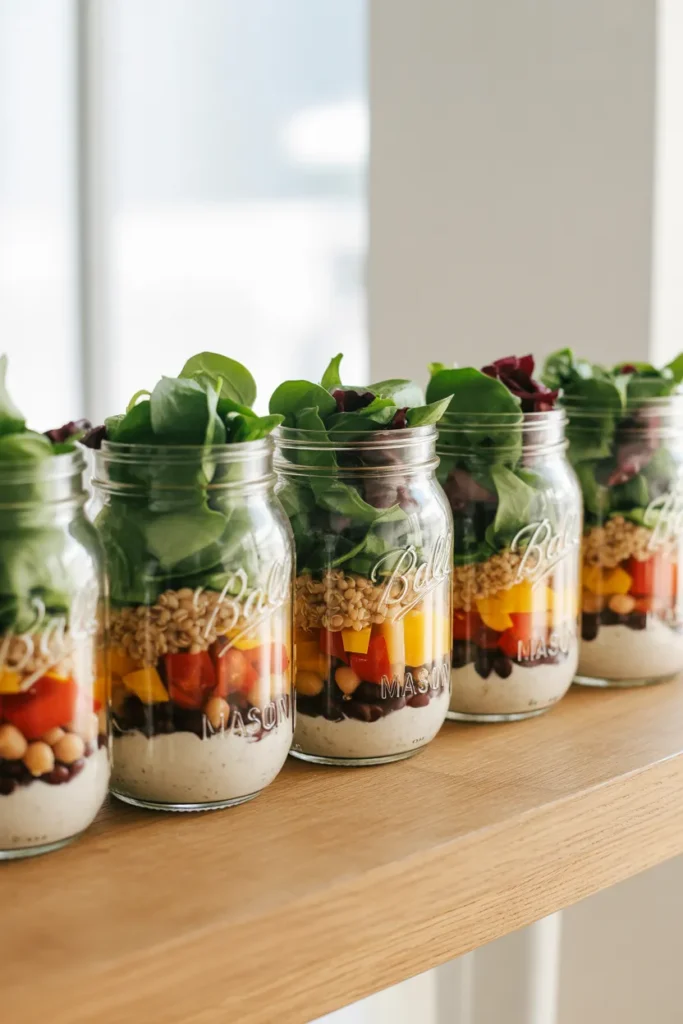
The Best Containers for Meal Prep Storage
Containers are not just a Pinterest aesthetic thing. They legitimately affect how long your food stays safe. Here is what I have learned after way too many plastic container experiments.
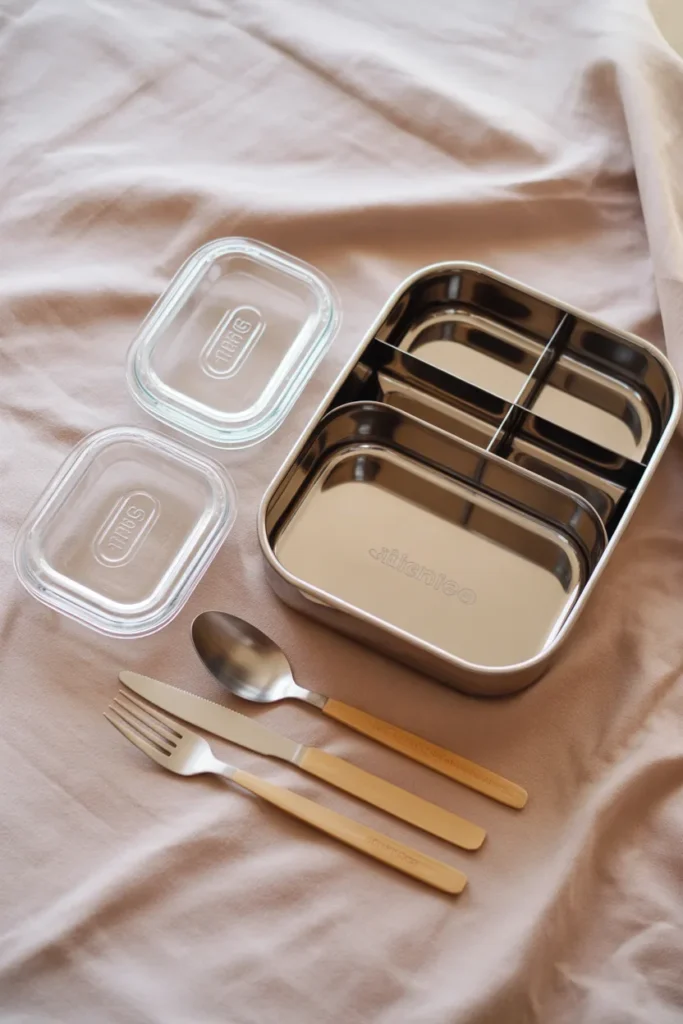
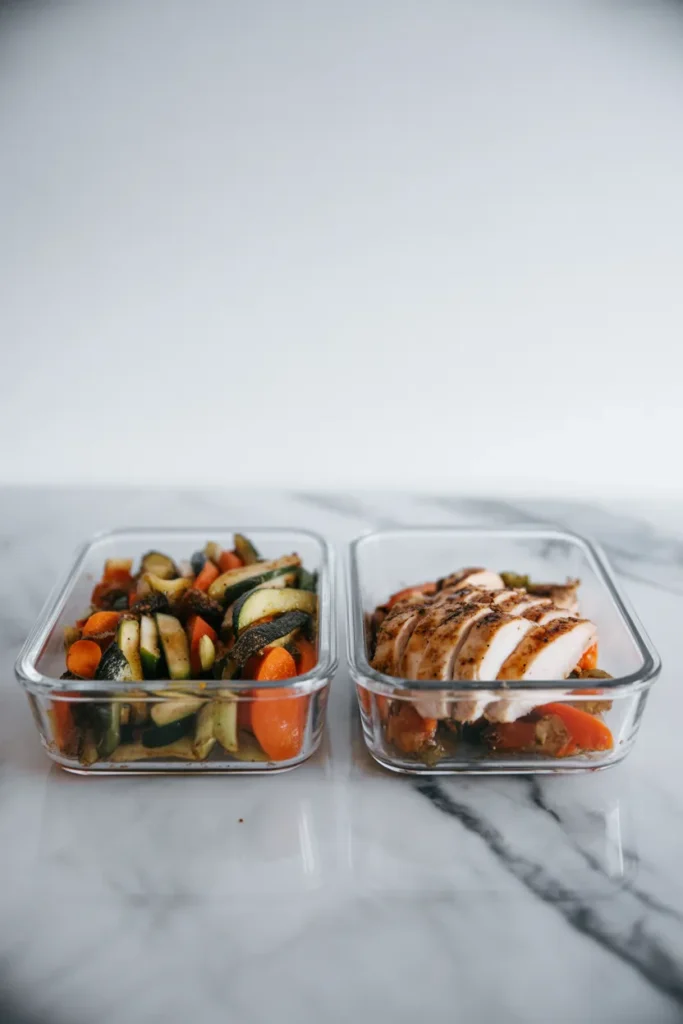
Glass containers with silicone seals are the gold standard. They do not stain, they do not absorb smells, they go from freezer to microwave to dishwasher, and they last for years. Yes, they are heavier. Yes, they cost more upfront. They are worth it.
BPA free plastic containers work fine for fridge storage but I would not recommend reheating in them repeatedly. Over time, plastic can warp and develop tiny cracks that harbor bacteria. Stainless steel bento style containers are great for cold meals and salads but obviously cannot go in the microwave.
For soups, stews, and anything liquid, look for containers with a proper locking lid. Leaky soup in a work bag is a character building experience I do not recommend. If you want some recipe inspiration that works especially well in glass containers, check out these easy meal prep lunch ideas that hold up through reheating.
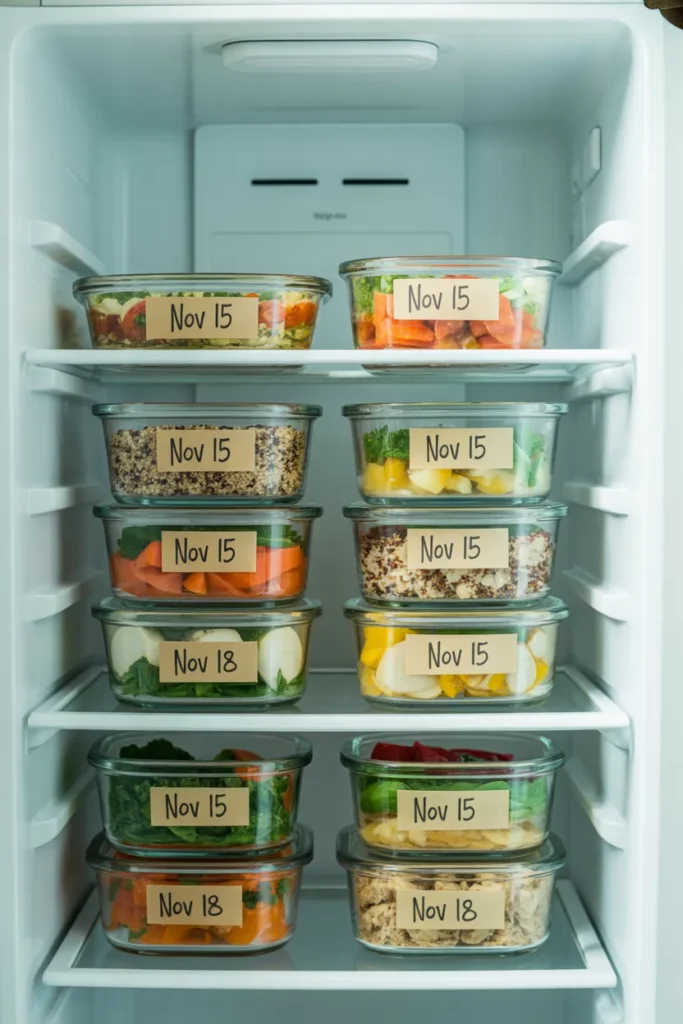
Cool, Label, Rotate. The Three Rules That Save Your Meals
This is the boring part but also the part that separates people who meal prep for a week from people who meal prep for a year. Cool your food before you lid it, always. A hot container sealed tight creates condensation, which creates moisture, which creates mold and mushy food.
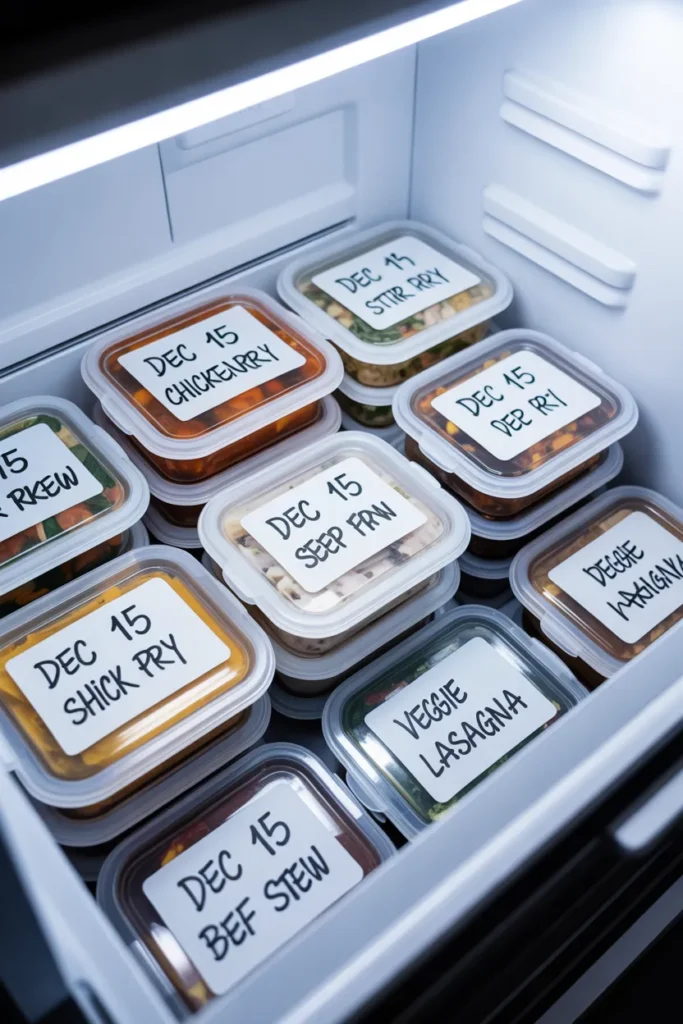
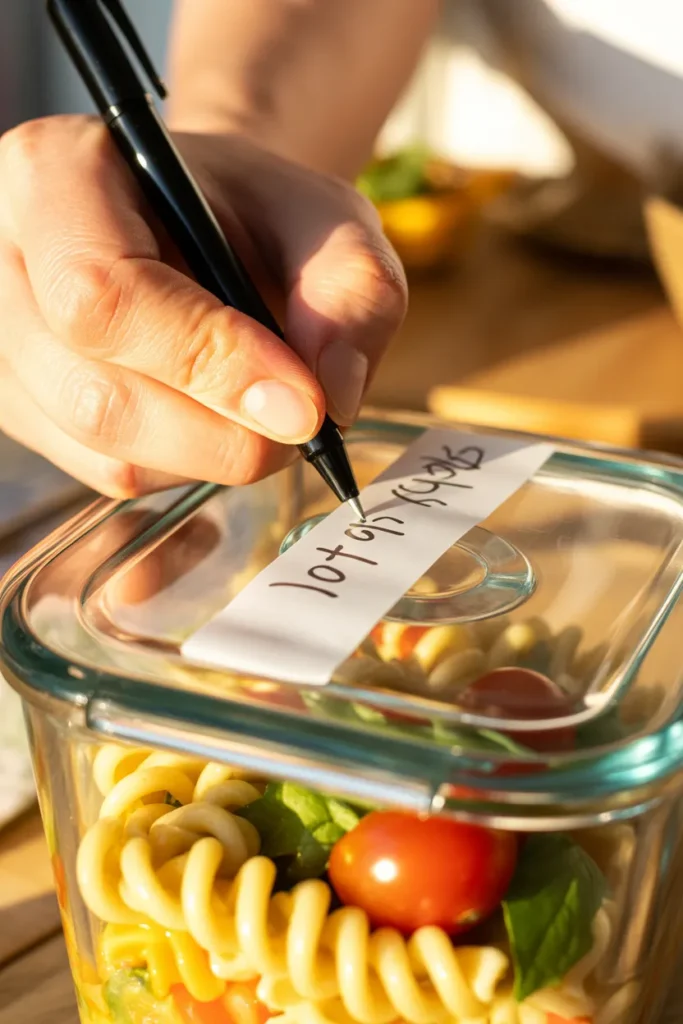
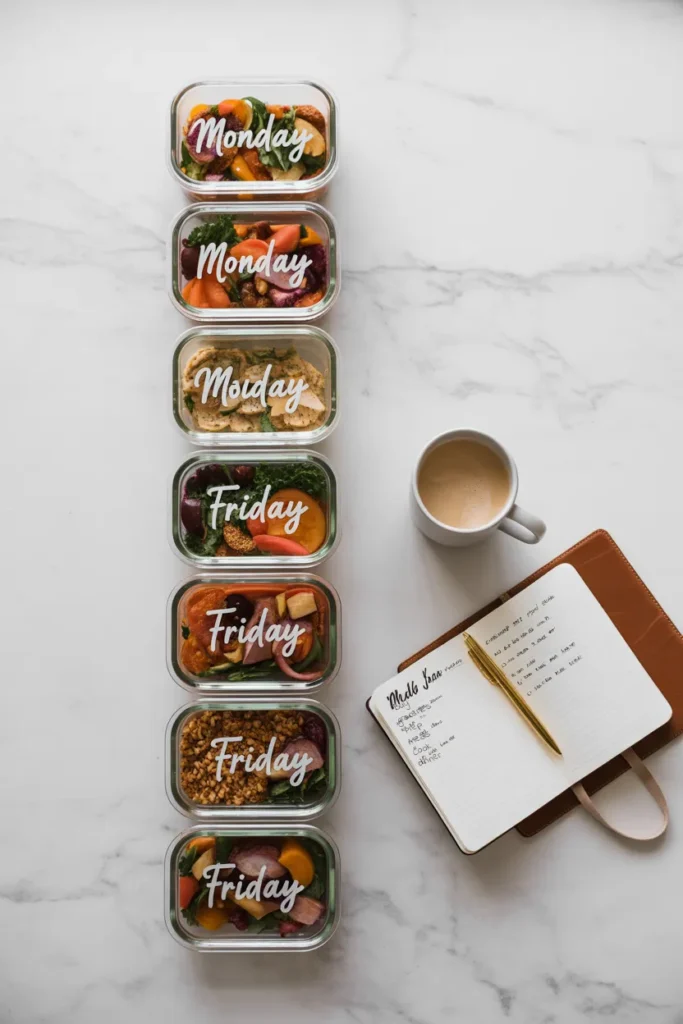
Label every container with the date it was made. A roll of masking tape and a Sharpie will do the job. Your future self looking in the fridge on Thursday does not remember if that curry was made Sunday or Monday, trust me.
Rotate your fridge so older meals sit at the front and new ones go to the back. It feels obsessive for about two days and then it becomes automatic. Food safety professionals call this FIFO, first in first out, and it is the same system restaurants use.
Reheating Meal Prep the Right Way
You did all that work to store your food safely. Do not blow it at the finish line. Cooked meals should be reheated to an internal temperature of at least 165°F to kill any bacteria that may have started growing during storage. A cheap instant read thermometer costs about 15 dollars and takes the guesswork out.
Never reheat the same meal more than once. That means if you warm up half a container and put the rest back, you are now dealing with food that has been in the danger zone multiple times. Portion before reheating whenever possible.
Microwave reheating works but can leave cold spots, so stir halfway through. Stovetop reheating is gentler for saucy dishes and keeps textures better. The oven is best for anything crispy, like roasted chicken or baked pasta.
Signs Your Meal Prep Has Gone Bad
When in doubt, throw it out. I know it feels wasteful, but a stomach bug is so much worse than tossing a lunch. Trust your senses and watch for these red flags.
Slimy texture on meats or vegetables. Sour or off smells, even subtle ones. Any visible mold, including tiny fuzzy spots. Discoloration on cooked meats, especially gray or green tones. A weird fizzy or bubbly appearance in sauces or soups. Condensation or water pooling inside the container that was not there before.
If a meal is 4 days old and you are questioning it, just do not eat it. According to the USDA Food Safety Basics, when cooked food sits in the fridge too long, bacteria can grow even without any visible signs.
Smart Meal Prep Storage Hacks I Wish I Knew Earlier
A few small tricks make a huge difference and none of them require fancy gadgets.
Store dressings and sauces separately in small jars or silicone cups. Salads stay crisp and reheated meals stay saucy instead of soggy. Add a paper towel to containers holding greens or herbs. It absorbs extra moisture and extends freshness by days.
Keep a dedicated shelf in your fridge just for meal prep. This stops everything from getting buried behind last week’s condiments and makes FIFO rotation way easier. Freeze individual proteins flat in freezer bags. They thaw in minutes and stack like books.
Blanch vegetables for 2 to 3 minutes before freezing. It locks in color, texture, and nutrients way better than freezing raw. For more on which ingredients batch cook best, my beginner friendly meal prep guide on MealPrepBix breaks down exactly what to prep and in what order.
A Simple Meal Prep Storage Routine You Can Actually Stick To
Here is the rhythm that finally made meal prep sustainable for me. Cook on Sunday afternoon in big batches. Spread food out to cool for 20 to 30 minutes. Portion into labeled glass containers while catching up on a podcast. Fridge what you will eat Monday through Wednesday, freeze Thursday and Friday meals. Reset the fridge every Saturday, tossing anything questionable and wiping down shelves.
Takes me about 10 extra minutes on top of cooking, and it saves hours of decision making and maybe 40 dollars a week in food I used to waste.
FAQs About Meal Prep Storage and Food Safety
Is it safe to eat meal prep after 7 days? Honestly, no. Most refrigerated meals should be eaten within 3 to 5 days. If you need longer, freeze it from the start.
Can I refreeze thawed meal prep? It is not recommended. Refreezing breaks down texture and gives bacteria extra chances to grow. Thaw only what you plan to eat.
Should I cool food before refrigerating? Yes, but not for hours. Aim for the 2 hour window. Let food reach around room temperature, then get it cold fast.
What is the best way to thaw frozen meal prep? Overnight in the fridge is the safest option. If you are in a rush, the microwave defrost setting works but plan to eat it right away.
Can I reheat meal prep twice? Please do not. Reheat once, eat what you warmed, and toss anything left over.
Final Thoughts
Learning how to store meal prep the right way is honestly the difference between loving this habit and quitting after two weeks. Cool it properly, use good containers, label everything, and respect the fridge timeline. That is pretty much the whole game.
Do these small things consistently and your Sunday work pays off all week long. No soggy lunches, no mystery leftovers, no wasted groceries. Just real food, ready when you are.
Save this guide on Pinterest so you have it handy for your next meal prep Sunday, and let me know which tip surprised you the most.